
TEAM
Quick Link:
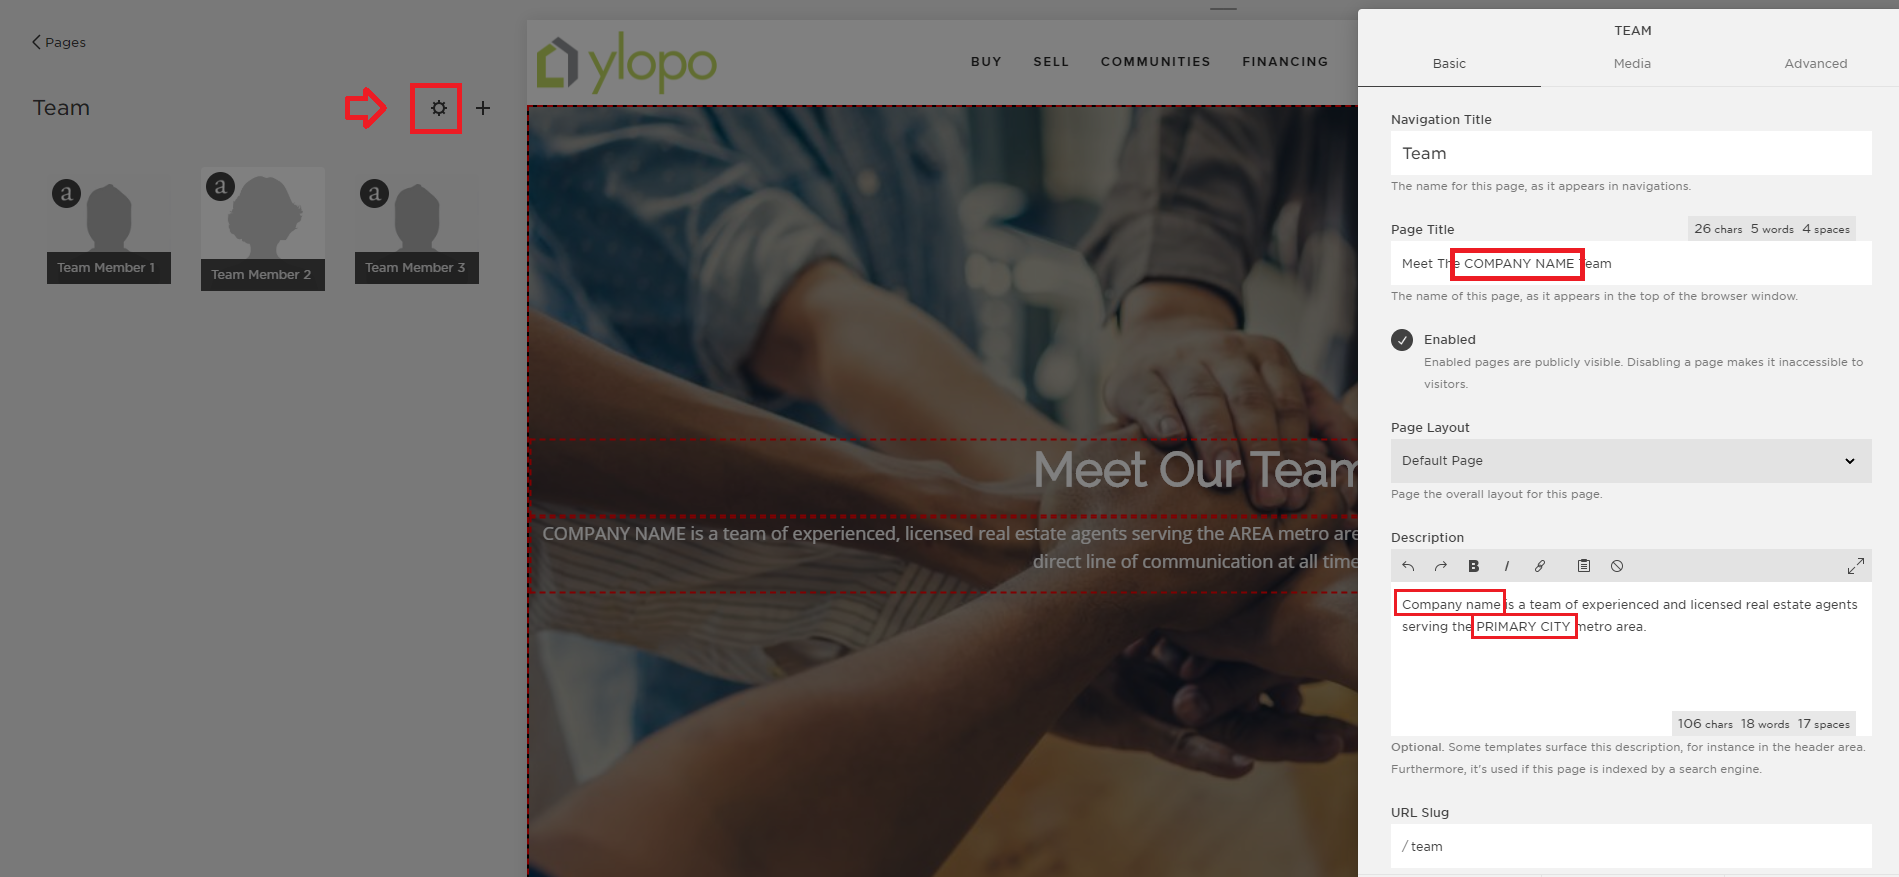
The next page to work on is the Team. First thing to do on this page is to update the Page Title and Description. Simply click the gear icon on the left side and replace all the labels highlighted below with their correct info specified in the Jira ticket. Then click Save. (This is similar to how we changed the Homepage Title and Description).
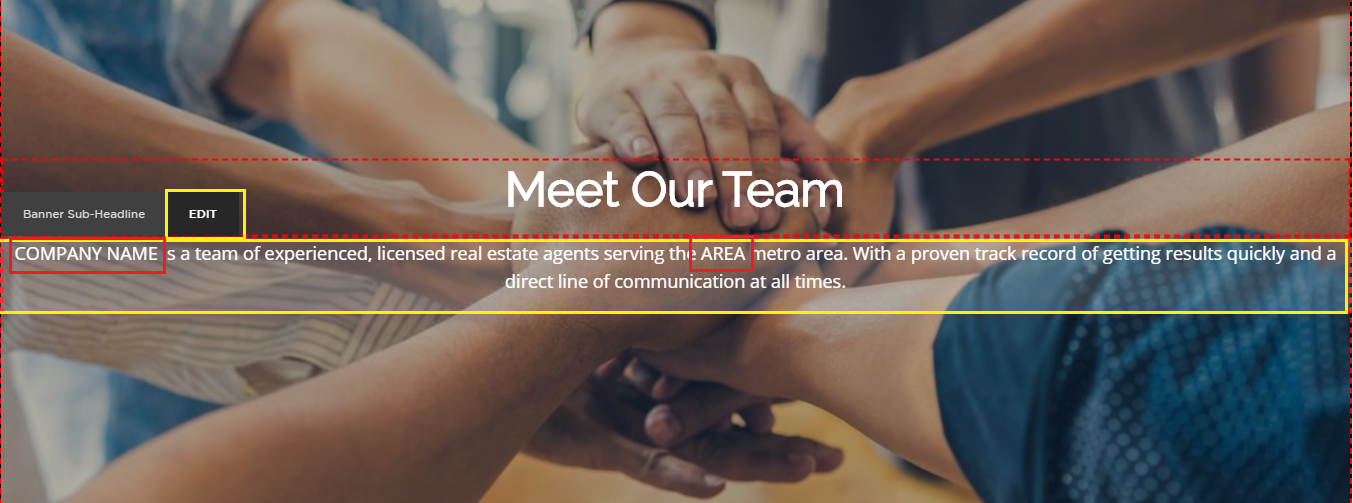
Next is updating the sub-banner texts of the page. Simply hover on the Sub Banner texts, edit and replace the labels highlighted from the screenshot below (COMPANY NAME and AREA).
Don’t forget to Save.
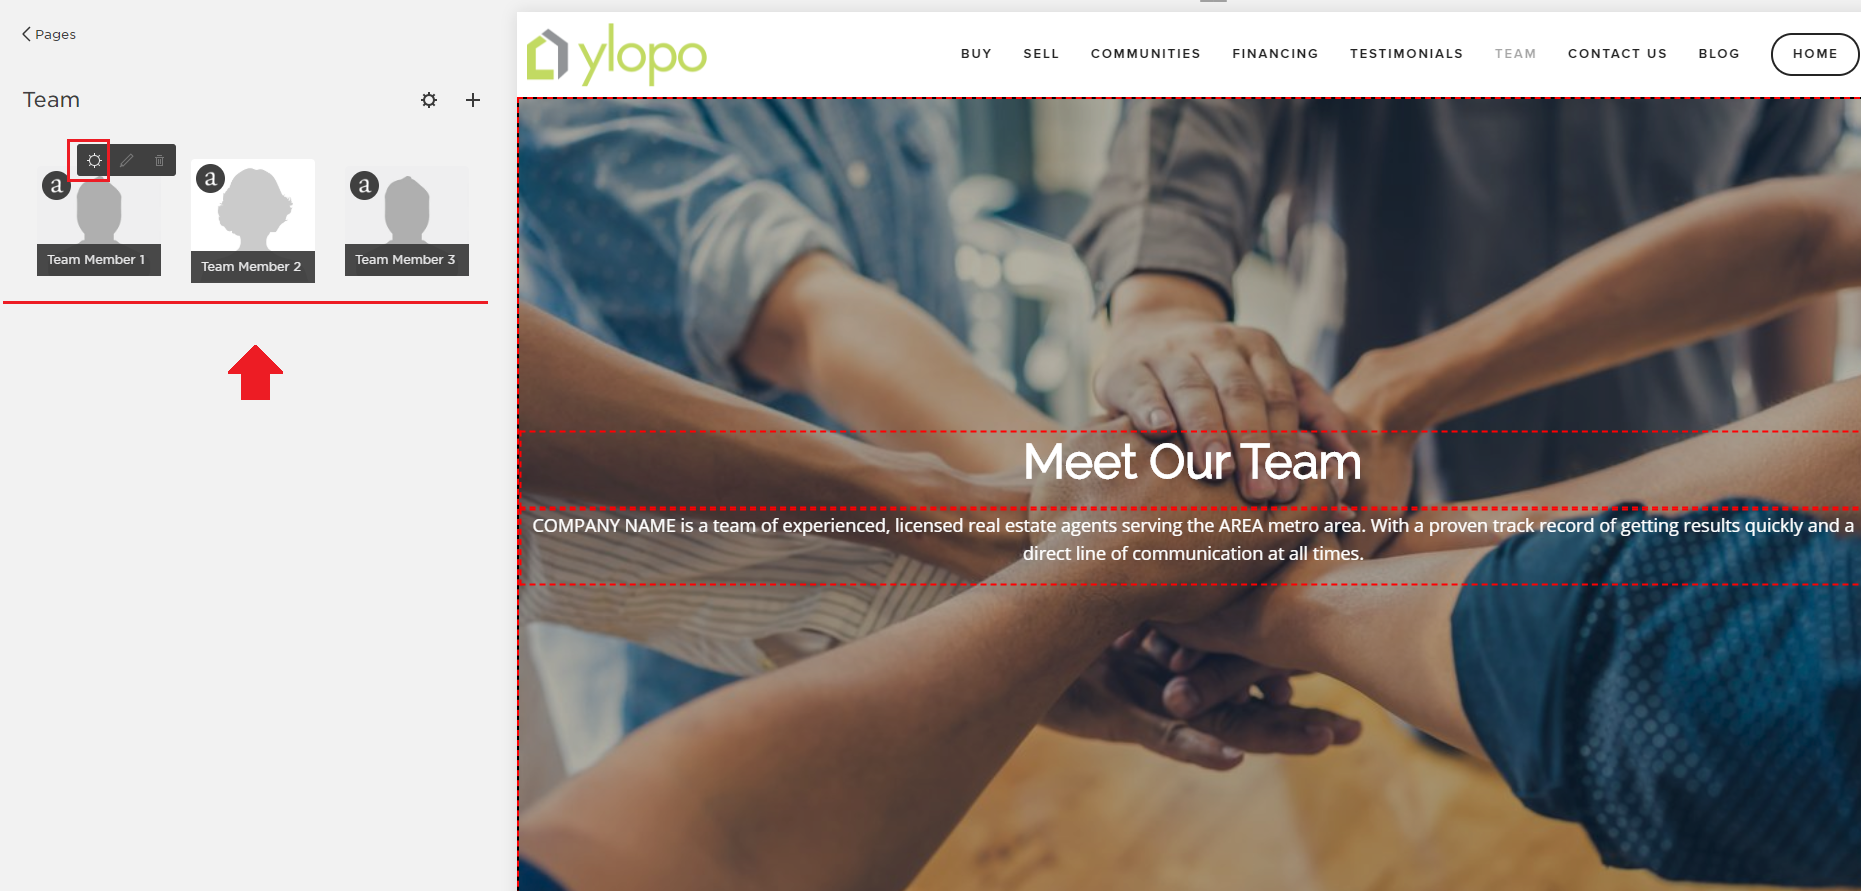
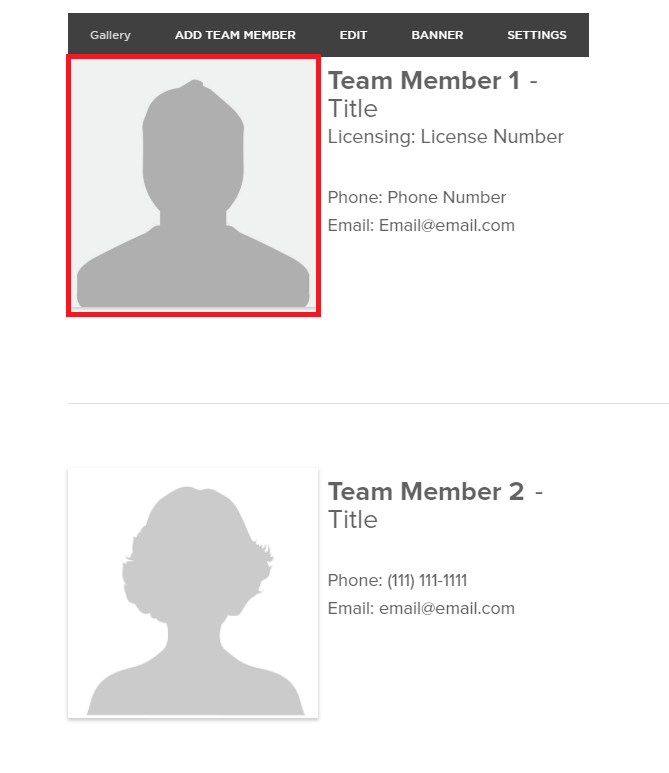
Next is to add all agents that are listed on the Jira ticket. On our example, the ticket only has 1 agent/team member that will be featured on the site.

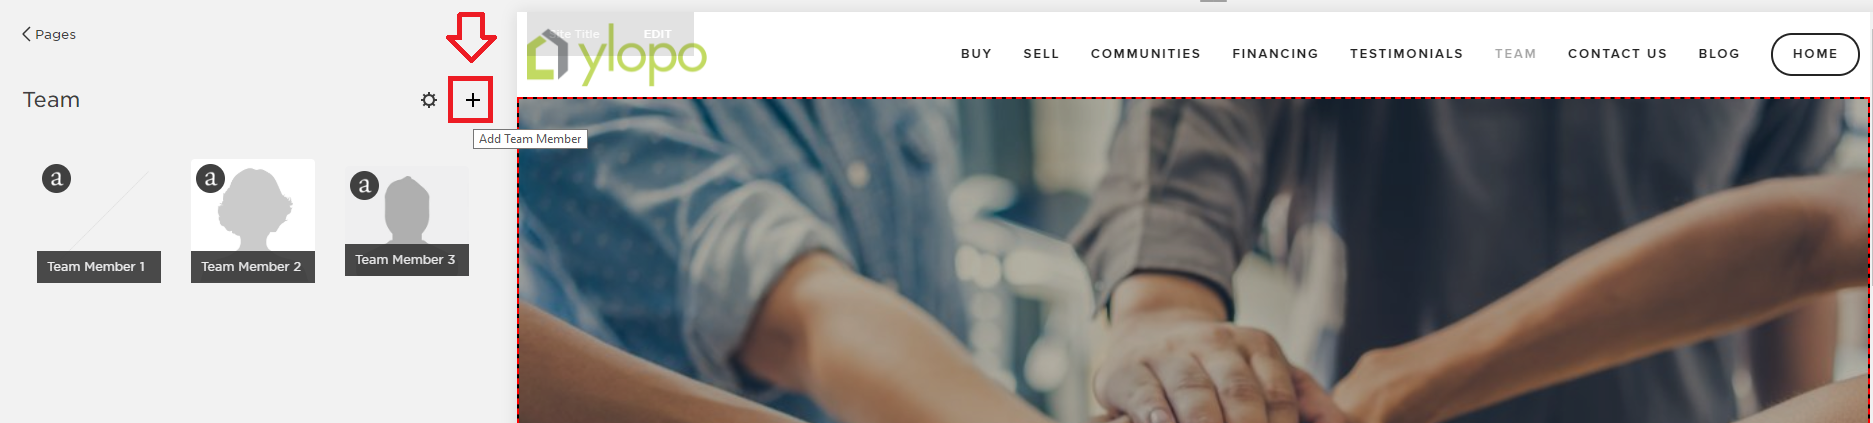
To add this agent, go to the left side section of the team page and you’ll notice three blank agents page. Hover on the first one and click the gear icon to edit.
Once you’ve clicked the gear icon, a window to edit the first team member will pop up on your screen:
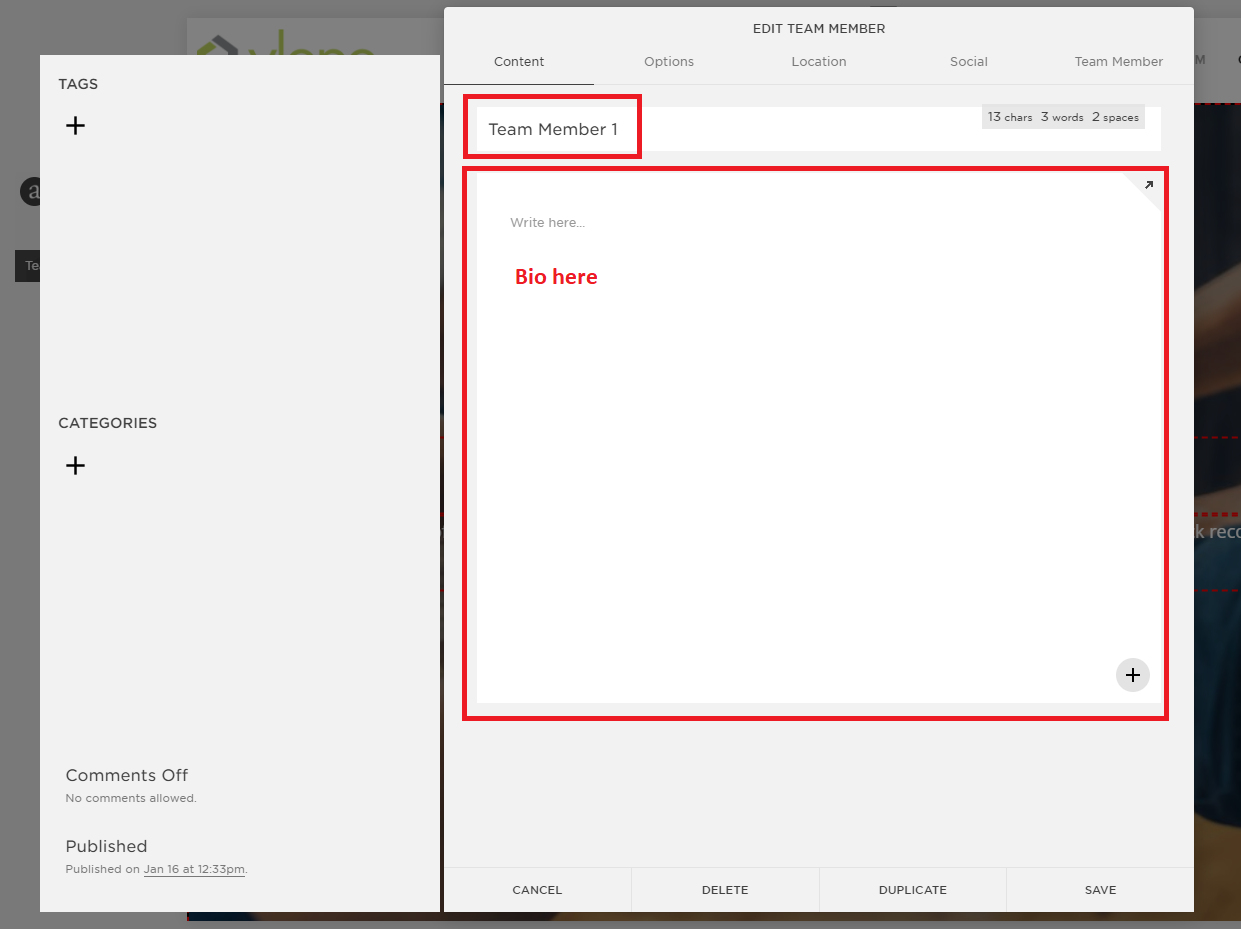
Make sure to edit the highlighted label (Team Member title) on the screenshot and replace it with the team member’s name.
For the Bio, the Zillow link of the team members are added on the Jira ticket if they have one. If the Zillow link is provided for the team member whose page is being set up, open the link and copy the bio from their Zillow profile. For an instance, Gene Donohue from our ticket does have a Zillow Link profile: https://www.zillow.com/profile/UpstateHomeSeller/
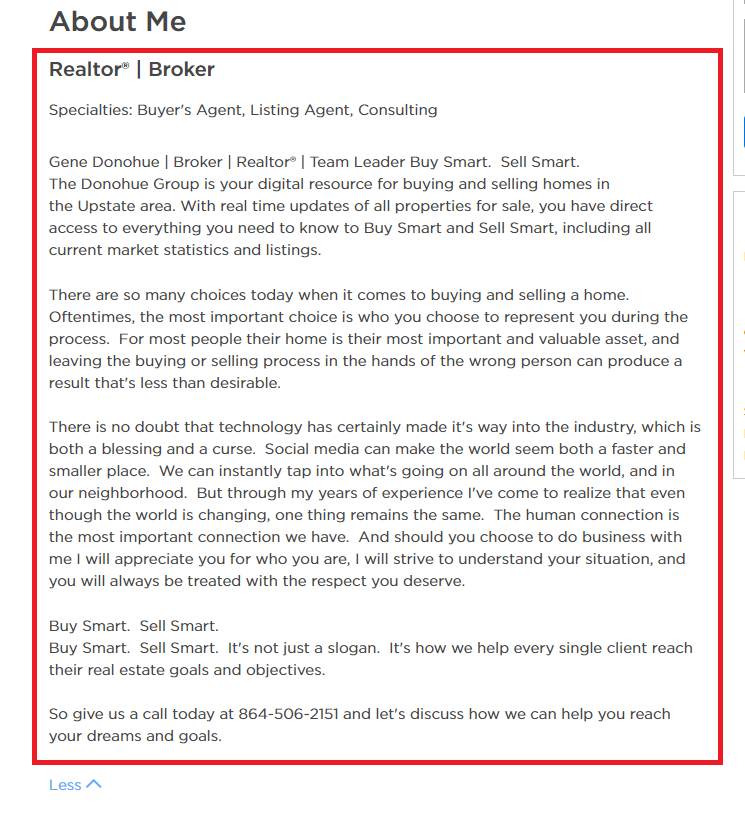
Copy the whole About Me description of Gene and paste it on the page we are setting up for him.
Note: Please make sure that you are using double spacing for each new line as double spacing on the team single agent pages is only equivalent to 1 spacing when published.
After adding the bio, click the next tab on the “Edit Team Member settings” named Options.
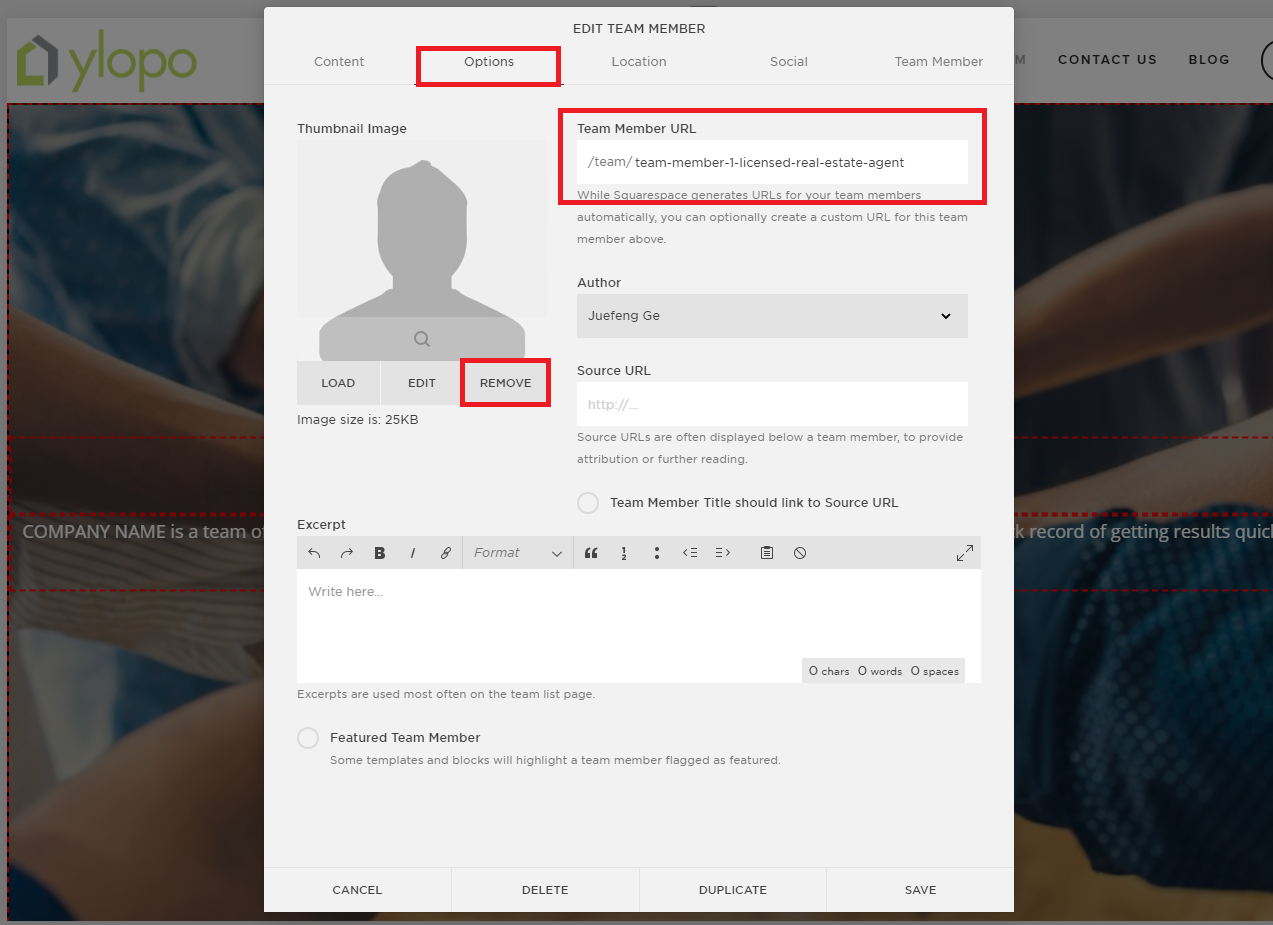
If the image of the team member is included on the attachment you’ve downloaded from the ticket, simply click remove from the Thumbnail image and select Add an Image from the same section.
Next, on the Team Member URL, replace the team-member-1 with the team member’s name. Note: Please make sure that all of the team members’ page URLs are ending with licensed-real-estate-agent
Once the needed changes are applied for this member, click on the Team member tab from the settings window and add the details highlighted on the image below:
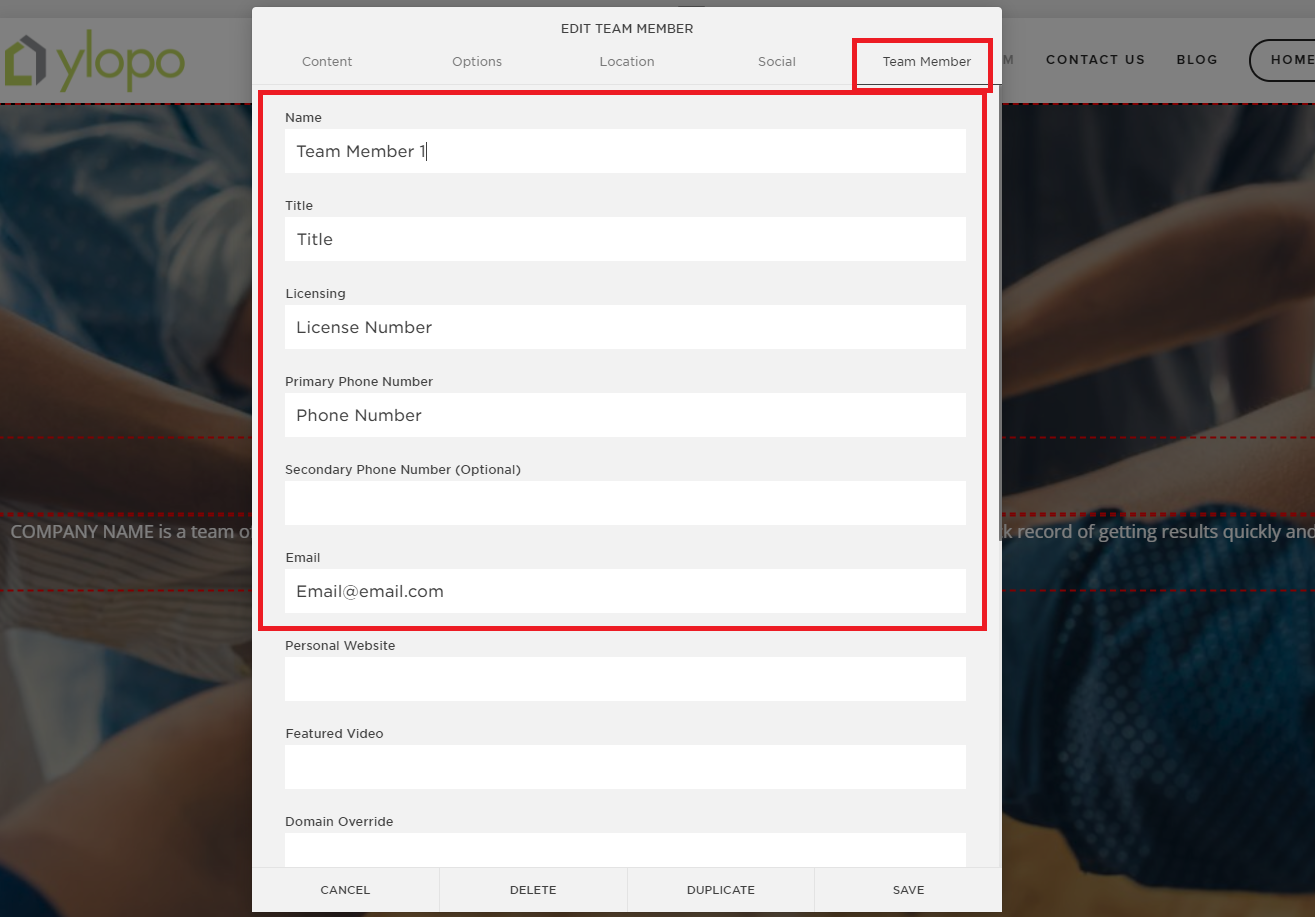
Leave it blank if no information is provided yet.
Click Save once all provided information are added.
If the team has more than 3 members (which is more than our three default agent pages), we will have to add it manually by clicking the PLUS icon as shown below and perform the same process as above by filling out the information.
------
Next, on the team’s main page, click on the profile of the member to view his single agent page:
This is the default design of a single agent page. Please make sure to change the banner image and center the label “Begin Your Search Below”
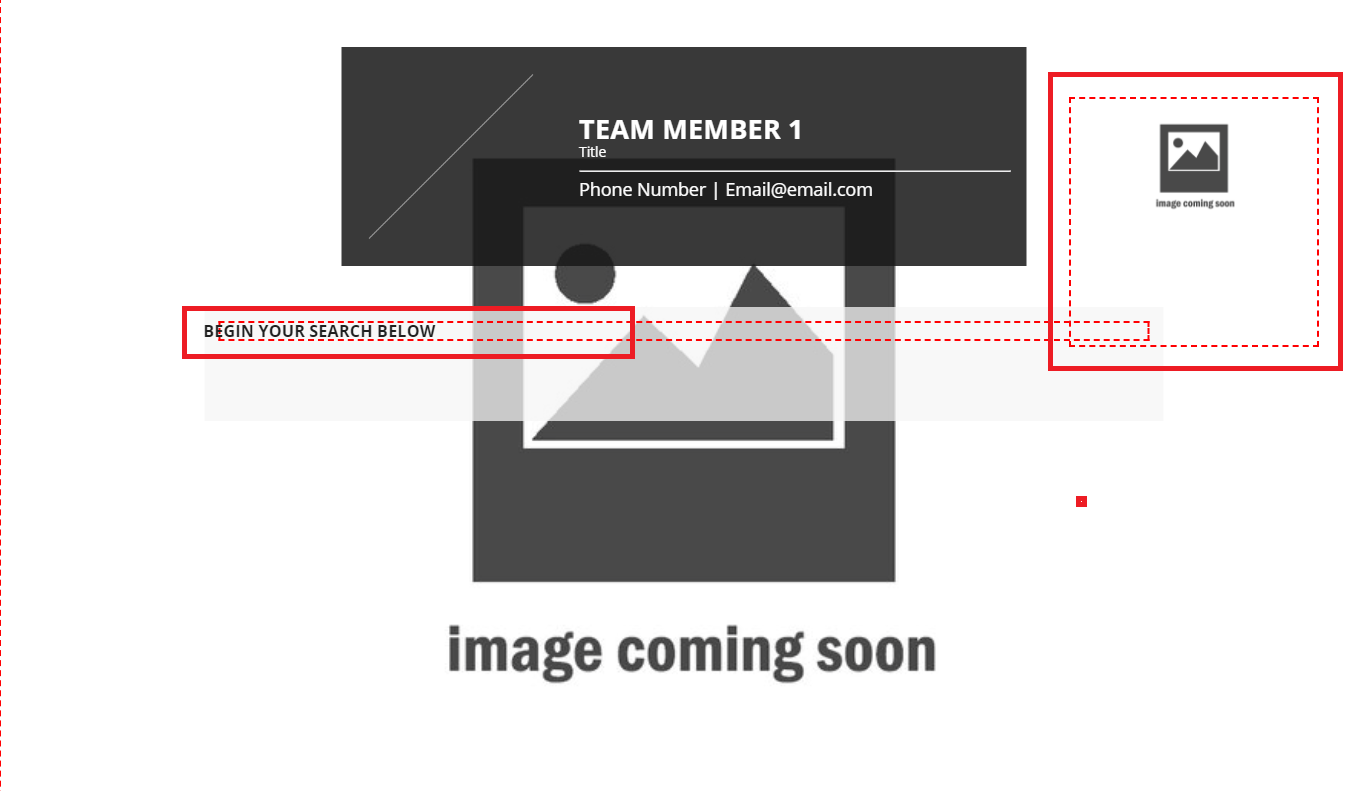
To edit the Banner image, hover on the image block on the right and click edit.
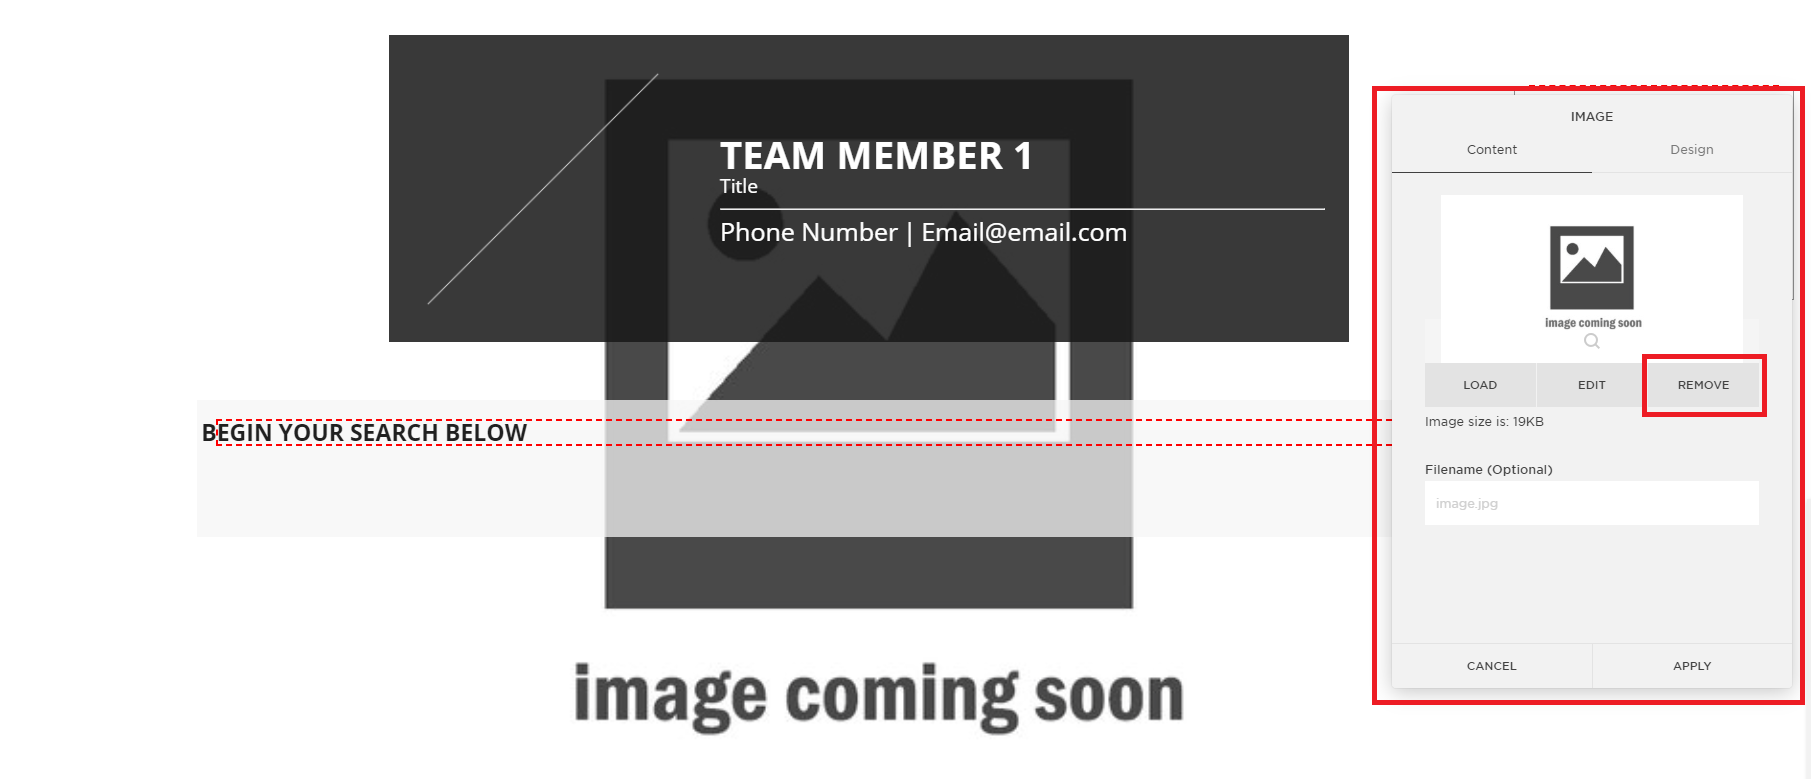
Remove the current image and add a new one similar to how we’ve changed the member’s headshot on prior steps. You can get photos from Shutterstock.com. Simply search for an image based on the primary area of the client.
Click apply when the upload is complete and Save.
For the label “Begin Your Search Below”, simply hover and edit the block. Type the label “Begin Your Search Below,” change the Paragraph format to Heading 2, Bold the text and click Center alignment.

Click Save.
----------
Home Listings Section
Next, scroll down the page on the Listings Section. For the single agent pages, we don't have to apply changes on the tab labels and will only add the codes for the listings.
On the first code block, add the featured listings code which is:
//*Featured Listing Default Code*//
<div class="YLOPO_resultsWidget" data-search='{"featured":"t"}'></div>
and for the All Listings code > combine all the primary areas on the home search site widget and generate the code to use and add it on the second block.

For other single agent pages (in case there are multiple team members), you only need to repeat the same process.